Help center- Feature related
August 03, 2025

Table of Contents
- Save recipes from social media
- Save recipes from an image
- Save recipes from websites
- Save recipes from text
- Bulk imports
- Grocery list
- Nutrition information on Flavorish
- How to use Cooking mode
- Meal Planning
- Edit/Delete recipe
- Can I print my recipes from Flavorish?
- Import recipes from other apps
- Export recipes from Flavorish
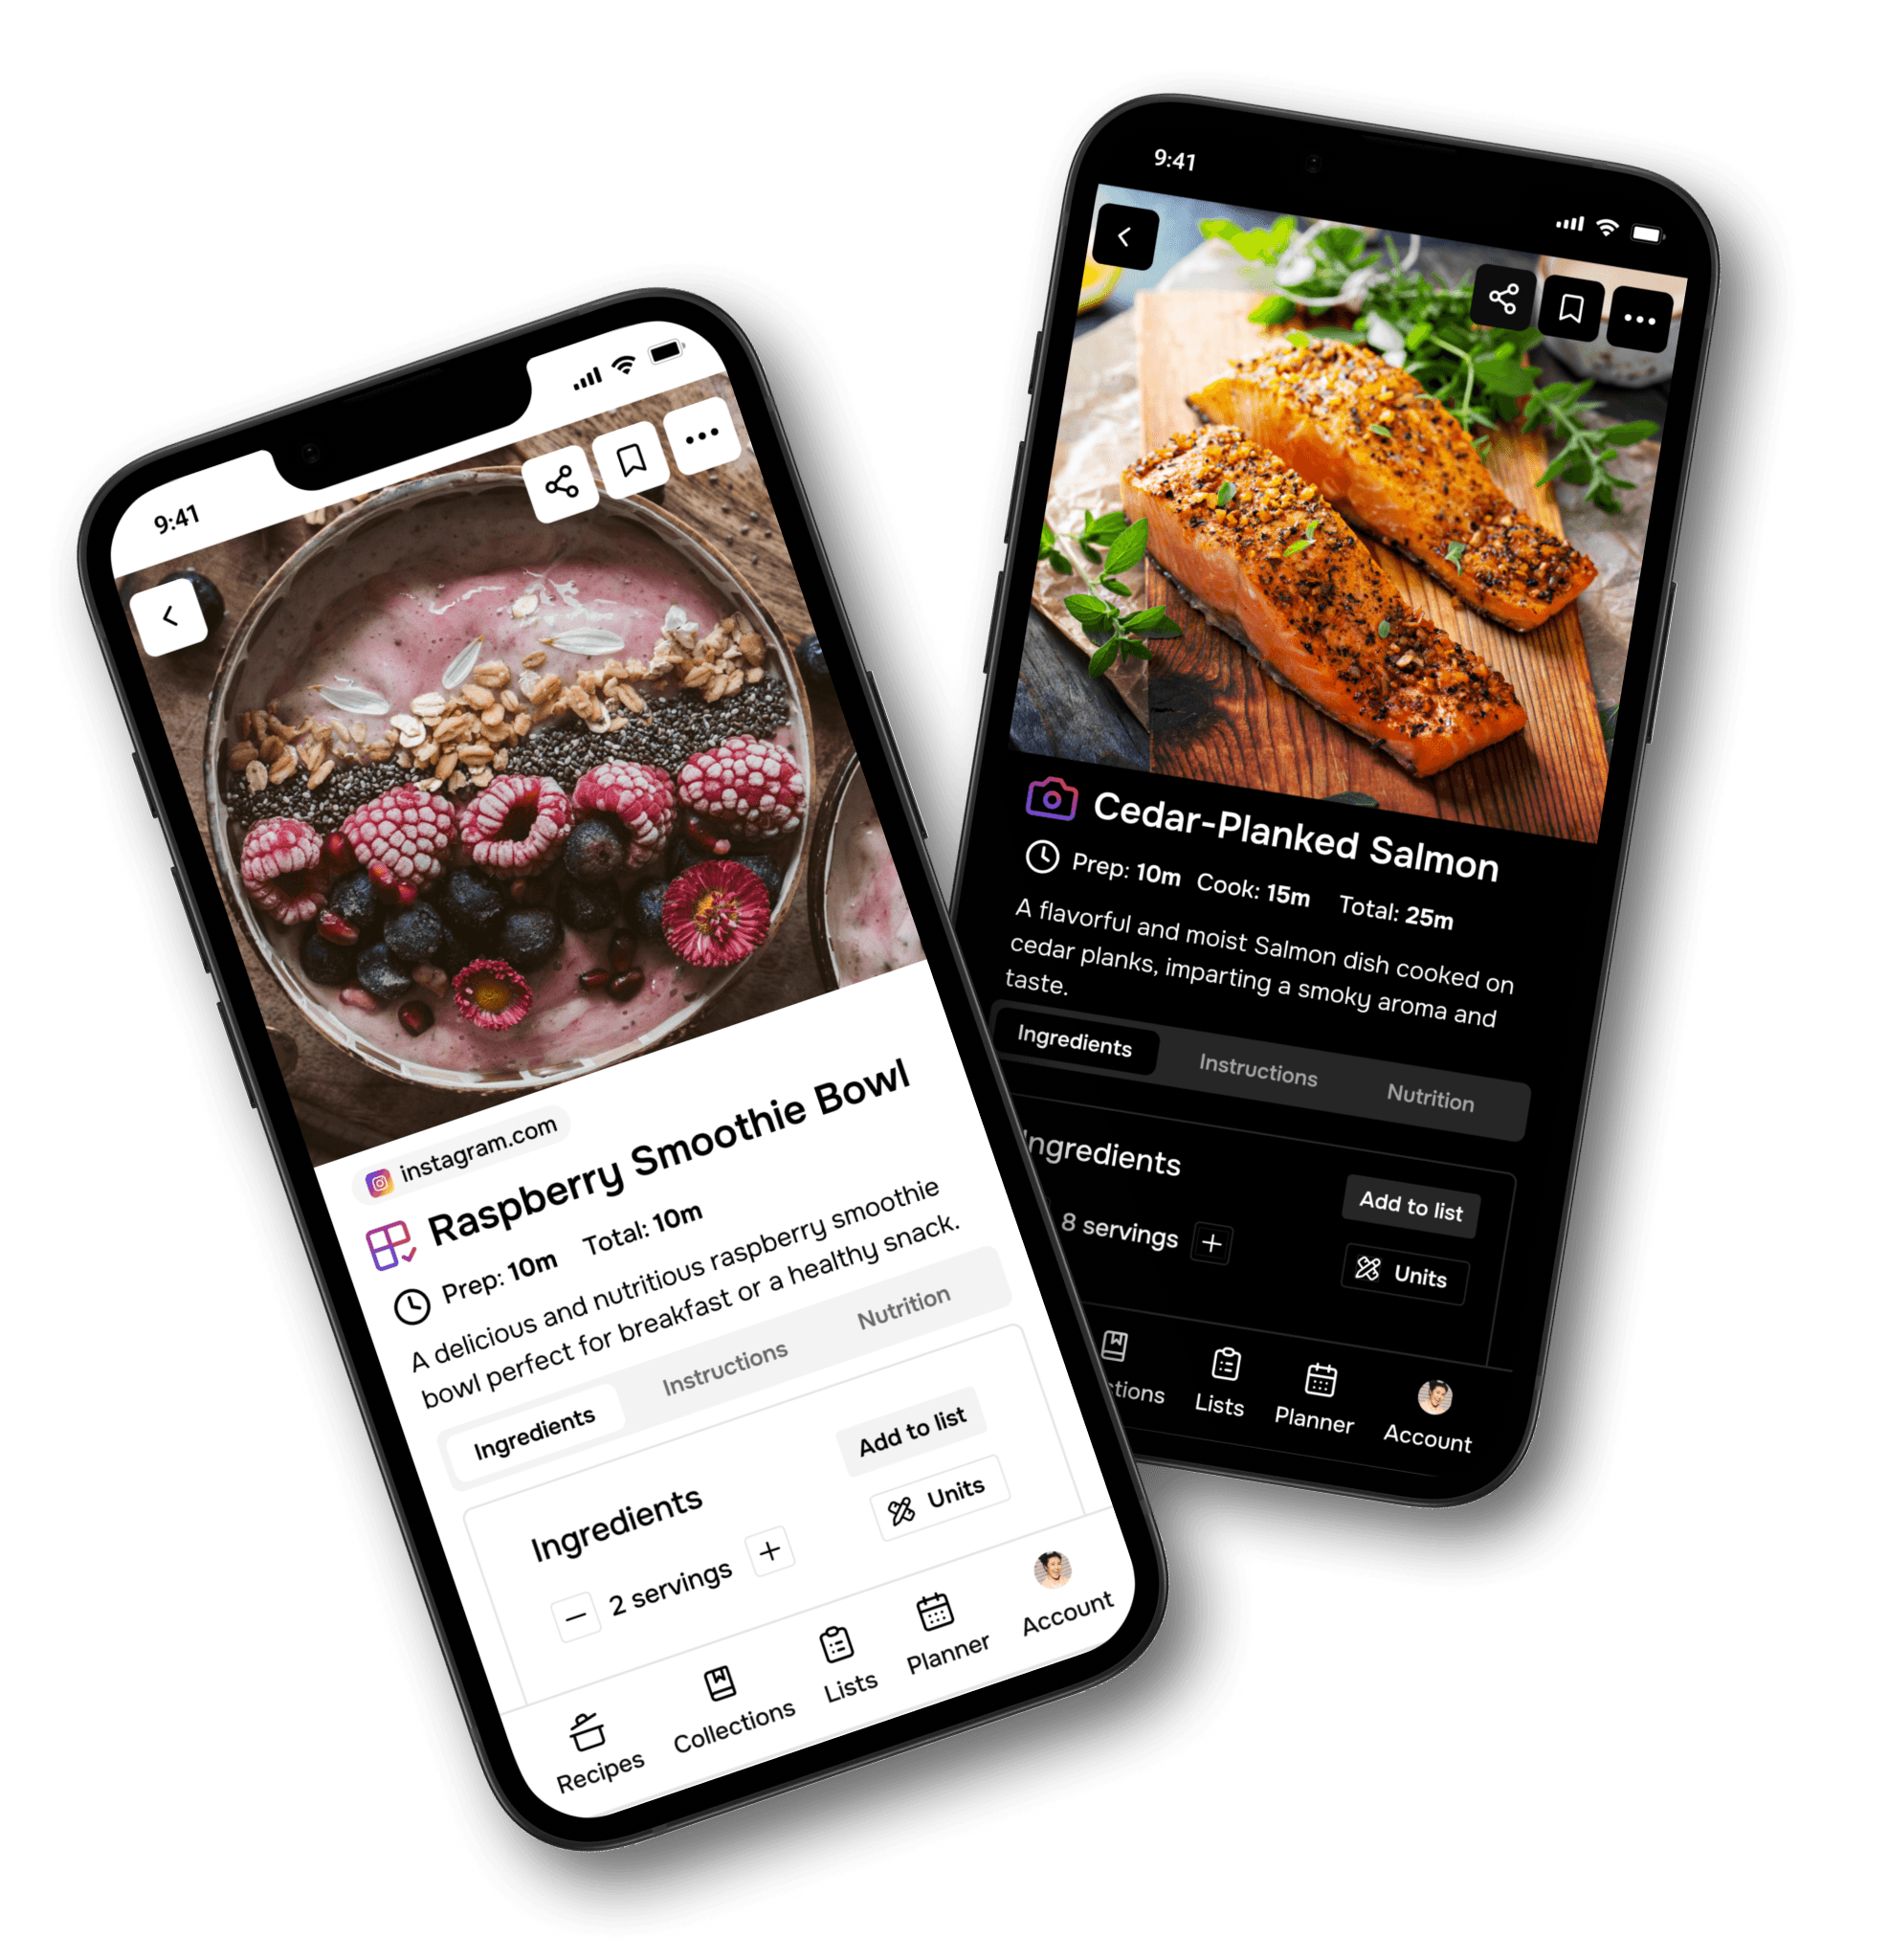
1. Save recipes from social media
Import Recipes from Instagram
You can now save your favorites with Flavorish, and bring your Instagram cooking finds to life!
On Android
- Find a Post or Reel: Find a public post or reel on Instagram with a recipe you'd like to save.
- Share the Post: Tap the share icon (bottom left for posts or reels) and and choose “Share”.
- Select Flavorish: Scroll through the apps and tap “Flavorish”.
On iOS
- Find a Post or Reel: Find a public post or reel on Instagram with a recipe you'd like to save.
- Share the Post: Tap the share icon (bottom left for posts or reels) and select “Share to..”.
- Select Flavorish: From the list of apps, tap “Flavorish” and choose "Save recipe".
Import Recipes from TikTok
Now you can capture those viral recipes and store them in Flavorish to try them later!
On Android
- Find a Recipe Video: Find a TikTok video featuring a recipe you want to save.
- Share the Video: Tap the Share button (bottom right) and tap "More".
- Select Flavorish: Tap “Flavorish” from the sharing options and tap "Save recipe".
On iOS
- Find a Recipe Video: Find a TikTok video featuring a recipe you want to save.
- Share the Video: Tap the Share button (bottom right) and select “More”.
- Select Flavorish: Scroll through the list of apps and tap “Flavorish” and choose "Save recipe".
Import Recipes from YouTube
Now you can capture those cooking tutorial recipes directly from YouTube.
On Android
- Find a Recipe Video: Find a recipe video you'd like to save on YouTube.
- Share the Video: Tap the "Share" button and select “More”.
- Select Flavorish: Choose “Flavorish” in the sharing options and tap "Save recipe".
On iOS
- Find a Recipe Video: Browse YouTube for a recipe video that inspires you.
- Share the Video: Tap the "Share" button and select “More”.
- Select Flavorish: Scroll and tap “Flavorish” from the app list and choose "Save recipe".
Import Recipes from Facebook
Save your favorite Facebook recipes directly into Flavorish and never lose track of a delicious find!
On Android
- Find a Recipe Post: Look for a recipe post, photo, or video from a public Facebook profile or page.
- Share the Post: Tap the Share button, then select “More”.
- Select Flavorish: Scroll and select “Flavorish” from the options and tap "Save recipe".
On iOS
- Find a Recipe Post: Search Facebook for a public recipe post, photo, or video you’d like to save.
- Share the Post: Tap the Share button and then select “More”.
- Select Flavorish: From the app list, tap “Flavorish” and tap "Save recipe".
Don’t see Flavorish? Follow the steps mentioned at the end to add Flavorish as favorite share option.
Note: We can only create accurate recipe matches from social media posts, videos or photo that include the full recipe in the description. If the description doesn’t provide a complete recipe, Flavorish does its best to fill in the blanks using available information such as dish name and hashtags etc. Results may vary.
2. How to Save Recipes from an Image in Flavorish
Saving recipes from an image with Flavorish is incredibly simple. Here’s how you can start building your own digital cookbook by uploading images of your favorite recipes.
1. Take a Picture of the Recipe or the dish
The first step is to snap a clear picture of your recipe or the dish you'd like to try. If the recipe is from a handwritten note, recipe card, or cookbook, take a photo that includes all the necessary details—ingredients, instructions, and any special notes or tips.
2. Upload the Image to Flavorish
Once you have your recipe image ready, it’s time to upload it to Flavorish.
- Open the Flavorish app or website.
- Tap the "+" and choose "Save recipe from image".
- Select either of the two options
- "Take Photo" directly from your camera.
- Or "Select an image" to upload your photo directly from your phone or device.
- Click "Save recipe".
3. Flavorish Does the Rest
Once you upload your image, Flavorish automatically extracts the recipe details — including ingredients, instructions, and any special notes — so you don’t have to type it all out manually.
4. Organize and Categorize
Once a recipe is saved, you can easily organize it into custom collections for quick access. Just click the tag icon at the top right corner of the recipe page and choose a collection to save it to. You can name collections by meal type, cuisine, occasion, or dietary preferences, whatever works best for you. This way, your recipes stay organized and easy to find whenever you need them.
3. How to Save Recipes from Online Websites to Flavorish
Flavorish makes it incredibly easy to import recipes from online websites. Whether you’re saving recipes individually or in bulk, the process is simple, quick, and flexible.
1. Share the URL Directly to Flavorish
Share recipe URLs directly from your browser or app to Flavorish, where the recipe will be automatically imported into your account. This is a hands-free approach for those who don’t want to manually copy and paste links.
Save Recipes by Sharing the URL:
- Find a recipe from your favorite creator, blog, or recipe website featuring a dish you'd like to make.
- Tap the “Share” button in your browser tab and select Flavorish from the list of available sharing options.
- Flavorish will capture the URL and instantly save the recipe to your account.
- Organize Your Recipe: Organize your recipes into custom collections for quick access. Click the tag icon on the top right corner of your recipe page and choose a collection to save the recipe to create your digital cookbook.
2. Copy and Paste the Recipe URL
The most straightforward method for recipe importing is copying and pasting the URL of a recipe you want to save. This is ideal for those who prefer to save just a few recipes at a time.
Save a Recipe Using the URL Link:
- Copy the URL of the Recipe: Visit the recipe site (e.g., AllRecipes, BBC Good Food, Epicurious etc.) and copy the URL of the recipe you want to import.
- Open Flavorish on your mobile app or website.
- Tap the '+' button and click 'Save Recipe Link' Feature in Flavorish.
- Paste the URL in the designated field within the app or website and click ‘Save’. Flavorish will automatically import the recipe, formatted neatly, including the ingredients, instructions, and images.
- Organize Your Recipe: Organize your recipes into custom collections for quick access. Click the tag icon on the top right corner of your recipe page and choose a collection to save the recipe to create your digital cookbook.
4. Save a recipe from text
You can quickly turn any plain‑text recipe into a Flavorish recipe using the Save recipe from text option.
- Tap the + button and choose Save recipe from text.
- Paste your recipe text into Flavorish.
- Flavorish will automatically separate it into ingredients, instructions, and (where possible) nutrition.
- Save, and the recipe will be added to your Flavorish library.
Add a photo
- Open the recipe.
- Tap the three dots in the top‑right corner.
- Choose Edit recipe → Add image.
If tapping the image field doesn’t do anything, Flavorish may not have access to your photos. On iOS:
- Open the Settings app
- Scroll down and tap Flavorish
- Tap Photos
- Select Full Access
Once photo access is enabled, return to Flavorish and add the image again.
5. Bulk Import Recipes
If you’re someone who loves to save multiple recipes at once, Flavorish has a bulk import feature that allows you to quickly bring in a collection of recipes from multiple websites. This is perfect for meal prepping or creating a week’s worth of dinner ideas in one go.
Bulk Import Recipes:
- Copy Recipe URLs from recipe blogs, cooking websites etc.
- Open Flavorish on your mobile app or website.
- Tap the '+' button and click 'Save Recipe Link' Feature in Flavorish.
- Paste the recipe URLs of several recipes (max. of 20 recipes at a time) separated by a comma (,)for eg: https://example.com/recipe1, https://example.com/recipe2, https://example.com/recipe3
- Click ‘Save’ and Flavorish will process all the URLs at once, extracting the necessary information from each recipe (ingredients, instructions, images).
- Organize Your Recipe: Organize your recipes into custom collections for quick access. Click the tag icon on the top right corner of your recipe page and choose a collection to save the recipe to create your digital cookbook.
6. Grocery Lists
Save Ingredients from Recipes Directly to Your Grocery List
Adding ingredients from a recipe to your grocery list has never been easier. Just follow these simple steps:
- Select Your Recipe: Pick a recipe from Flavorish that you'd like to cook.
- Go to the Ingredients Tab: Once you're in the recipe, head to the ingredients tab where all the required ingredients are listed.
- Click “Add to List”: This will allow you to add the ingredients directly to a grocery list.
- Choose or Create a List: If you have an existing grocery list, simply select it. Or, you can create a new one to save these ingredients.
- Click “Save”: Your ingredients are now saved and organized in your grocery list, ready for your next trip to the store!
Create a Shopping List from Scratch
Sometimes, you don’t need a recipe and just want to plan your shopping for the week. Flavorish makes it simple to create a list from scratch:
- Click the List Tab: Head to the grocery list section in Flavorish.
- Tap the “+” Button: This lets you create a new grocery list.
- Name Your List: Give your new grocery list a name and click “Create.”
- Add Ingredients: Tap the “+” button again to start adding ingredients to your list. You can add ingredients from the suggested list or type in new ones by name and also add quantity.
Custom Sorting for a More Organized List
To help you shop even faster, Flavorish allows you to custom sort your ingredients in various ways:
- Sort by Aisle: Organize your list by grocery store aisle to reduce the time spent walking back and forth in the store.
- Similar ingredients from various other recipes get combined to keep your shopping list clean and organized.
- Sort by Recipe: If you're preparing multiple recipes, you can sort the ingredients based on each recipe to avoid confusion.
- Custom Sorting: You can also manually reorder your list to fit your preferred shopping flow.
With Flavorish, you have full control over your grocery lists. You can easily edit or delete ingredients, ensuring your list is always up to date. This flexibility allows you to create grocery lists for any purpose, whether it's a weekly meal plan, special event, or just a random shopping spree.
With these options and this level of organization, you'll never waste time looking for ingredients again.
7. Nutrition information on Flavorish
Flavorish helps you cook meals that not only taste great, but support your health goals too. Every recipe comes with built-in nutritional insights, so you can make informed food choices without the extra effort.
What Nutrition Info Is Included?
Each recipe in Flavorish includes a full nutritional breakdown per serving, such as:
- Calories
- Carbohydrates
- Protein
- Total Fat
- Saturated fat
- Unsaturated fat
- Trans fat
- Fiber
- Sugar
- Sodium
- Cholesterol
Where to Find It
- Open any recipe in Flavorish
- Tap the Nutrition section
- View the detailed information per serving at a glance
No extra clicks, no digging, everything you need is right there. Flavorish gives you the clarity you need, without the guesswork.
8. Cooking Mode
Cooking Mode lets you follow along with recipes without your screen turning off and you can also add multiple recipes to Cooking Mode.
Here’s a simple walk-through, whether you're on your phone or laptop:
Step 1: Pick Your Recipe: Find the recipe you want to cook and open it.
Step 2: Tap the Instructions Tab: Right above the ingredients, tap the Instructions tab.
Step 3: Hit "Start Cooking": Click the green Start cooking button to enter Cooking Mode. This keeps your screen from timing out while you cook.
Step 4: Cook More Than One Recipe: Want to make a main and a side? No problem. Add multiple recipes to Cooking Mode. Use the dropdown menu at the top to switch between them.
Step 5: Strike Things Off as You Go: You can check off ingredients and steps as you move through the recipe, super helpful for staying on track.
Step 6: Jump In and Out:Tap Finish cooking to exit Cooking Mode.Tap View recipe to return to the full recipe pageTap the 🔥 icon to reopen Cooking Mode at any time (visible across Recipes, Lists, and Collections)
Available on Android, iOS, and Web
For Android & iOS:
- Works right inside the app.
- No need to change your screen settings🔥 icon stays visible so you can return to active recipes easily.
- Great for switching between dishes or tracking steps hands-free.
For Web App Users:
- Use Cooking Mode directly in your browser: see ingredients, steps, and nutrition in one place.
- Strike off items with a click.
- Switch between multiple active recipes using the dropdown at the top.
9. How do I edit or delete a recipe in Flavorish?
Flavorish gives you full control over your saved recipes, whether they were added from a website, social media, an image, or created from scratch.
How to edit a recipe
You can edit any recipe you've saved, regardless of the source. Here's how:
- Open the recipe you want to edit.
- Tap the three dots in the top-right corner.
- Select Edit.
From here, you can:
- Add or update the recipe image
- Edit the title, description, or source name/URL
- Add, change, or delete ingredients and instructions
- Include your own personal notes
- Edit nutritional information (note: changing the number of servings won’t auto-update the nutrition, it reflects the original recipe source)
How to delete a recipe
To delete a recipe from your collection:
- Open the recipe.
- Tap the three dots in the top-right corner.
- Tap Delete and confirm.
⚠️ Deleting a recipe will also remove it from any collections it was saved under.
10. Meal Planning in Flavorish
Meal Planning turns your saved recipes into a weekly schedule you can actually cook from.
Create and Organize Plans
- Use the Meal Plan list to create, rename, sort, or delete plans.
- Inside a plan, view your week (Sunday–Saturday), pick a date + meal type (Breakfast, Lunch, Dinner, Snack, Any), and add one or more recipes per day.
- Reuse recipes as often as you like; any changes to a recipe automatically update everywhere it’s used.
Navigate, Add, and View Recipes
- Move between weeks with arrows or jump via the calendar.
- Switch between grid and list views on the plan and in recipe search.
- Search by name or ingredient, select multiple recipes, and add them to a day or week in one step.
Share Your Meal Plan
- Open a plan, tap the share icon, and share via Flavorish email or link.
- Recipients can view the full plan but can’t edit it, perfect for coordinating meals.
11. Can I print my recipes from Flavorish?
You can easily print recipes with customizable options like servings, units, and whether or not to include images, notes, or nutrition info. You cal also choose to save your recipes locally on your desktop with “Save as pdf” option.
Note:
- The print feature is currently only available via the web version of Flavorish at app.flavorish.ai. You’ll need to log in to your account in the web app to access this feature.
- If you're using the mobile app, selecting “Print Recipe” will redirect you to the web app (you may be asked to log in again).
- Make sure your browser allows pop-ups if your print dialogue doesn't appear.
Step 1: Open the recipe
- Tap the recipe you want to print.
- Tap the three dots in the top-right corner.
Step 2: Select "Print Recipe"
- From the dropdown menu, choose “Print Recipe.”
Step 3: Customize your print
- Choose your preferred page size (Letter or A4).
- Adjust the number of servings.
- Select your unit format (Imperial or Metric).
- Toggle on or off to include:
- Image
- Nutrition info
- Notes
- Tap the green “Print” button.
- Choose your preferred printer.
- Or you can choose to “Save as pdf” and save it locally on your desktop.
12. Import recipes from other apps
You can move your saved recipes from other recipe apps into Flavorish in just a few minutes.
Currently supported apps:
- CookBook (YAML export files)
- Mr. Cook (.zip export)
- Paprika Recipe Manager 3 (Paprika Recipe Format)
- Recipe Keeper (.zip export)
Flavorish imports recipes in bulk using the export file from your old app.
Before you start:
- Keep Flavorish open and avoid switching apps while the import is running.
- Large libraries (hundreds of recipes) can take a few minutes to finish.
- If the import fails, close and reopen Flavorish, then try again.
For detailed, app‑by‑app instructions, see our full guide:
https://www.flavorish.ai/blog/importing-from-other-recipe-apps
13. Export recipes from Flavorish
You can export all of your Flavorish recipes as a .zip file containing all your recipes along with the recipe images and its associated collections.
Just head over to the Account tab, then under the Import & Export section choose "Export recipes" and you’ll be able to export all your Flavorish recipes into a single .zip file.
Depending on the number of recipes, it may take a few minutes for the file to download, so keep Flavorish open and avoid switching apps while the export is running.
This export file can be used to:
- Keep your own backup of your Flavorish library
- Restore your recipes back into Flavorish at any time
- Transfer recipes in bulk between different Flavorish accounts
When you re‑import an export file into Flavorish, any recipes with the same ID are skipped automatically, since they’re already in your account.
Need help with navigating any of the features, reach out to us anytime at hello@flavorish.ai, we’re happy to help!